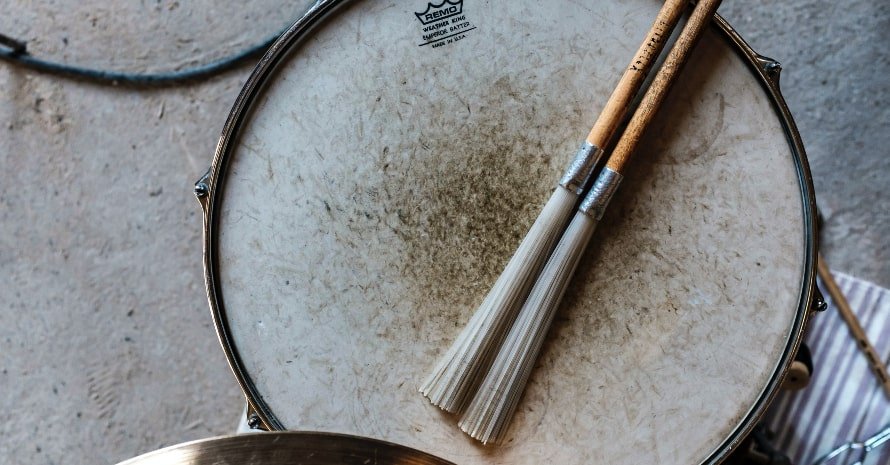
Acoustic drums are usually made of wood, except for the metal hardware and the skin on the drum heads. To keep your drums looking and sounding great, you’ll need to give them regular care and cleaning.
5 Tips on How to Clean Drums
Contents
Tip 1. Wipe down the drums after each use
If you have a drum set, it’s important to wipe down the drums after each use. This will help to keep them in good condition and prevent the build-up of dirt and grime.
To wipe down the drums, you’ll need a soft, dry cloth. Gently wipe down the surface of each drum, being careful not to scratch the finish. Once you’ve wiped down the drums, you can use a slightly damp cloth to remove any stubborn dirt.
Tip 2. Clean the drum heads regularly
Drum kit heads need to be cleaned regularly. This will help them last longer and prevent them from sounding dull.
To clean your drum heads, start by removing them from the drums and wiping them down with a damp cloth. Be sure to clean both sides of the head. You can then clean the head with a mild soap and water solution. Rinse the head well and allow it to air dry.
Once the head is dry, you can apply a small amount of drum head lubricant to the center of the head. This will help keep the head from sticking to the drum and will also help reduce wear.
When you are finished cleaning and lubricating the head, reattach it to the drum and tighten the tension rods. Be sure to tune the drum before you play it.

Tip 3. Polish the wood surfaces
There’s nothing quite like the look and feel of a well-polished drum kit. Whether you’re a professional drummer or a passionate hobbyist, taking the time to polish your drums will not only make them look great, but also help to protect them from wear and tear.
Here’s how to polish the wooden surfaces of your drum kit:
- Start by dusting your drums with a soft, dry cloth. This will remove any surface dirt or dust that could potentially scratch the wood.
- Once the drums are dust-free, it’s time to start polishing. Use a quality drum polish or beeswax and apply it to the drums using a soft cloth.
- Work in small sections, using circular motions to spread the polish evenly.
- Once the entire surface is polished, buff it with a clean, dry cloth to bring up the shine.
- Enjoy your freshly polished drum kit!
Tip 4. Clean the hardware
Drum kit fittings can become clogged with dirt over time, which can affect the sound of the drums. It is important to clean the fittings on a drum kit regularly to ensure that the drums sound their best.
There are a few different ways to clean the fittings on a drum kit. One way is to use a soft cloth or brush to gently scrub the fittings. Another way is to use a cleaning solution specifically designed for cleaning drum kit fittings.
Whichever method you choose, be sure to clean all of the fittings on the drum kit, including the bass drum claws, cymbal stands, hi-hat stand, and snare stand.
Tip 5. Check the tension of the drum heads.

Drum heads need to be checked for tension regularly to ensure they are in good shape and produce the best sound. Here are four easy steps to check the tension of your drum heads.
- Start by tapping the center of the drumhead with your finger. If the head is too loose, it will make a dull thud sound. If it is too tight, it will make a high-pitched ping sound. The ideal sound is somewhere in between these two extremes.
- Next, check the tension around the edge of the head. The head should be tight enough that you can not push your finger under the edge. If it is too loose, the head will rattle when you play.
- Another way to check the tension is to hold the drumhead down with one hand and strike it with the other. The head should vibrate evenly across the entire surface. If there are areas that sound dead or muffled, the head is too loose in those spots.
- Finally, try tuning the drum to see how well it holds pitch. If the head is too loose, it will be difficult to tune the drum and it will not hold pitch well.
If you find that your drum heads are not properly tensioned, there are a few things you can do to fix the problem. First, try loosening or tightening the screws that hold the head in place. This may take some trial and error to get the tension just right.
If the screws are not adjustable, or if adjusting them does not solve the problem, you may need to replace the drum head. Loose heads can also be caused by damage to the drum shell, so be sure to check for any cracks or other damage before you replace the head.
By following these simple tips, you can keep your acoustic drum kit looking and sounding great for years to come.
Homemade Chrome Cleaner
If you’re looking for an easy and environmentally friendly way to clean your chrome parts, look no further than your kitchen pantry! With just a few simple ingredients, you can whip up a DIY chrome cleaner that will leave your surfaces shining like new.
To get started, you’ll need:
- 1 cup white vinegar
- 1 cup water
- 1 teaspoon dish soap
- 1 tablespoon olive oil
- A clean, lint-free cloth
Simply combine the ingredients in a bowl or jar and give them a good stir. Dip your cloth into the mixture and then use it to wipe down your chrome surfaces. Be sure to scrub any areas that are particularly dirty or grimy.
Once you’re finished cleaning, buff the surface with a dry, lint-free cloth to remove any streaks. Your chrome should now be shining bright!
FAQ
How often should drums be cleaned?
This depends on how often the drums are used. If they are used frequently, they should be cleaned every few weeks. If they are used less frequently, they can be cleaned every few months.
What happens if you don’t clean your drum kit?
If you don’t clean your drum kit, it will eventually become covered in dust and dirt, which can cause the drums to sound muffled. In extreme cases, the drums may even start to develop mold or mildew.
What supplies do I need to clean a drum?
Drum clean with a variety of supplies, depending on the type of drum and the level of cleaning required. For example, a simple cleaning may just require a cloth and some soap, while a more thorough cleaning may require a brush, some drum cleaners, and some gloves.

Conclusion
Cleaning a drum kit is a great way to extend its life.
It’s also a great way to make sure that your drums sound their best. Taking the time to clean your drums will pay off in the long run, both in terms of their sound and their longevity.
So take your time, be patient, and enjoy the process.

