Guitar Amp – Step-By-Step DIY Guide

If you’re a guitar player, chances are you’ve thought about building your amplifier at some point. After all, why settle for a mass-produced, cookie-cutter amp when you could create your unique tone monster?
Building a DIY guitar amp can be a rewarding experience, both in terms of the satisfaction of completing a project and in the improved tone you’ll get from your new amp. But before you start soldering, there are a few things you need to know.
About the Guitar Amp
Contents
A guitar amplifier is a device designed to make the sound of an electric guitar louder. It does this by amplifying the signal from the guitar’s pickups. Most amplifiers also include some sort of EQ controls to shape the tone of the amplified signal.
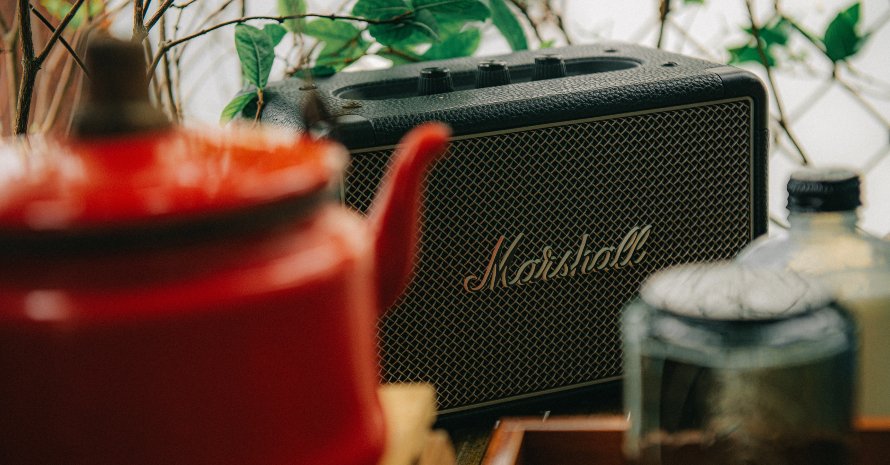
Guitar amplifiers are an essential piece of gear for any electric guitarist. They are typically used to play in live settings, such as clubs or concerts. However, amplifiers can also be used in the studio to record guitar tracks.
Where Can I Get the Schematics for a Homemade Guitar Amplifier?
If you’re looking for schematics for a homemade guitar amplifier, there are a few places you can look. The first is online resources like Google or Bing. Just search for “guitar amplifier schematics” and you’ll find plenty of results.
Another option is to check out websites like Instructables or Makezine. These sites are full of DIY projects, and you’re likely to find schematics for a guitar amplifier among them.
Finally, don’t forget about your local library. They may not have schematics specifically for guitar amplifiers, but they may have electronics books that contain the information you need.

What You’ll Need
- A chassis:
This is the metal box that will house all the components of your amp. You can buy a ready-made chassis, or make your own from scratch. - Potentiometers (pots):
These are the knobs on your amp that control the volume, tone, and other settings. - Transformers:
These convert the AC power from your outlet into the DC power that your amp needs. - Capacitors:
These store electrical energy and release it in a controlled way. - Resistors:
These limit the flow of electricity in your amp, preventing damage to your components. - Tubes:
These are the heart of your amp, where the magic happens. The type of tube you use will have a big impact on your amp’s sound. - Speakers:
These convert the electrical signal from your amp into sound waves. - Wire:
You’ll need this to connect all the components of your amp. - Soldering iron and solder:
This is how you’ll attach the wire to your components. - A drill:
You’ll need this to make holes in your chassis for the wires and components. - A DMM (digital multimeter):
This is a handy tool for testing the electrical components in your amp. - A power strip:
This will make it easy to plug in and test your amp once it’s complete. - A guitar:
You’ll need this to test your new amp, of course!
Now that you have all the parts and tools you need, it’s time to start building.
Building Your Amp
Step 1
To gather all of your materials. Once you have everything, you’ll need to drill a hole in the perf board for the power supply.
Next, solder the resistor and capacitor to the board according to the diagram below.
Now it’s time to solder the audio amplifier chip to the board. Make sure to orient the chip so that the flat side is facing the ground plane.
Step 2
Solder the potentiometer to the board. This will be used to control the volume of your amplifier.
Now solder the diode to the board. This is optional, but it will help protect your amplifier from damage if your power supply is ever accidentally reversed.
Solder the speaker to the board. Make sure that the positive (red) wire is connected to the “+” terminal on the board, and the negative (black) wire is connected to the “-” terminal.
Step 3
DIY guitar cabinet. If you decide to make your guitar cabinet, you will need to saw the wood to make it. Measure and mark the pieces and then cut them to size. Be sure to wear safety glasses when you’re using power tools.
Next, you’ll assemble the cabinet. This is where you’ll need to be careful and precise, making sure everything is square and level.
Step 4
Now you can screw the perf board into the speaker cabinet. If you’re using a battery, you can just close the lid of the cabinet. If you’re using a power adapter, you’ll need to drill a hole in the cabinet for the power cord.
Step 5
Now it’s time to test your amplifier. Plug your guitar into the “input” jack, and turn on the power. You should hear sounds coming from the speaker. If not, check your connections and make sure that everything is soldered correctly.
If everything is working, you can optionally pot the amplifier board in the compound to protect it from vibration. This is especially important if you’re using a power adapter, as the AC power can cause the board to vibrate.
Step 6
Finally, add some rubber feet to the bottom of the cabinet to keep it from sliding around. And that’s it! You’ve now built your guitar amplifier.
Safety Precautions
As anyone who’s ever built a guitar amplifier knows, several safety precautions need to be taken to avoid any accidents. Here are just a few of the things you need to keep in mind when building your amp:
- Always use gloves when working with electrical components. This will protect you from shock in case you accidentally touch something live.
- Make sure all of your connections are secure and insulated. This will help prevent any shorts or fires.
- Don’t work on your amplifier while it’s plugged in. This is just asking for trouble.
- Follow the instructions carefully. This may seem like obvious advice, but it’s worth repeating. Rushing through the build process can lead to mistakes that could be dangerous.
- Have a qualified person check your work before you power up the amplifier for the first time. This is just a safety measure to make sure everything is hooked up correctly.
By following these simple guidelines, you can avoid any accidents and have a great time building your amplifier. Just take your time and be careful, and you’ll be fine.
Advantages of a Homemade or Custom Amplifier
Here are just a few of the advantages of going custom:
1. You Can Get the Perfect Tone
When you order a custom guitar amplifier, you can specify exactly what kind of sound you’re after. Whether you’re looking for a beefy rock tone or a sparkling clean sound, a custom builder will be able to create an amp that perfectly suits your needs.
2. You Can Get the Perfect Look
Not only can you get your ideal sound with a custom amp, but you can also choose the perfect look. From the wood used for the cabinet to all colors, you can make your amp look exactly the way you want it.
3. You’ll Have a Unique Amp
When you buy a mass-produced amp, there’s a good chance that you’ll run into someone else with the same model. But when you go custom, you can be sure that your amp will be one of a kind.
4. You’ll Support a Small Business
When you buy a custom guitar amp kit, you’re supporting a small business. Many of the luthiers who build custom amps are sole proprietors who are passionate about their work. By buying from them, you’re helping to keep the dream of the custom amp alive.
5. You May Get a Better Deal
Although custom amps can be more expensive than mass-produced models, you may get a better deal in the long run. When you buy an off-the-shelf amp, you’re stuck with whatever features it comes with. But when you order a custom amp, you can add or remove features to get exactly what you want—and nothing that you don’t. This can save you money in the long run.
FAQ
What are the drawbacks of making a homemade guitar amplifier?
First, it can be difficult to find all of the necessary parts. Second, it can be challenging to get the amplifier to sound good. Third, you may need to have some knowledge of electronics to build your own amps. Finally, if you do not build the amplifier correctly, it could be dangerous.
What are some things to consider when building a custom amplifier?
Some things to consider when building a custom amplifier are the power needs of the amplifier, the size, and weight of the amplifier, the type of amplifier, and the cost.
What are the challenges of making a custom amplifier?
Some challenges of making your own guitar amp include finding the right combination of components to create the desired sound, and making sure the amplifier is properly ventilated to avoid overheating. Additionally, custom amplifiers must be properly tested to ensure they meet safety and quality standards.
Conclusion
As you can see, creating a custom amp for your guitar is not an easy task. However, it is still possible to achieve a good sound without spending a lot of money on a new amp. with a little bit of patience, time, and effort.
In the end, the most important thing is to find the right balance between your personal preferences, the guitar tone you are looking for, and the amount of money you are willing to spend on your new amp.
