Snare Drum Tuning – How to Keep Your Beat Tight

Maintaining a drum set is an art, and snare drum tuning is an important part of it. It defines the way your snare performs – sounds, feels, even maintains. In the perfect world, a once-tuned snare retains it until the end. In real life, you have to retune it often and replace the head from time to time, which implies tuning as well.
What tools do you need for tuning snare drums? How do you tell the tuning is good? What sound should you pursue? Let’s break it down here, covering how to tune a snare exhaustively.
The Guide on Snare Drum Tuning
Contents
Make your snare juicy, rich, fat, and rocky. For this, you need to know how the snare drum is made and how it functions, as well as what sound you want from it. Knowing how to tune snare drum parts, you can proceed to adjust its tension so it performs well at your gigs and feels right.
Tools that you need before drum tuning
Today’s snare drums are adjustable and designed with constant maintenance in mind. They come with onboard snare strainers, tension rods, and other elements that make these adjustments easy. Still, you will need something else to tune them properly. This “something,” indeed, is nothing unusual.
- Drum key. This key is standard. Probably your drum came with it. The key is necessary for tightening or loosening the tension rods.
- Drumstick. Yes, the regular drumstick you use for playing. You will need it to check the result of your efforts, and if it doesn’t satisfy you, re-check after returning.
The key is small enough, so you need to keep it near the drums, as you better have it with you, no matter if you play at home or go on a tour. Everything else is already in the construction of the drum. If you’re new to this, here’s a deeper insight inside it. I’d recommend a standard key by Gibraltar as a replacement one, but there are many options by Yamaha, Ludwig, and almost any drum manufacturer.

Anatomy of a drum
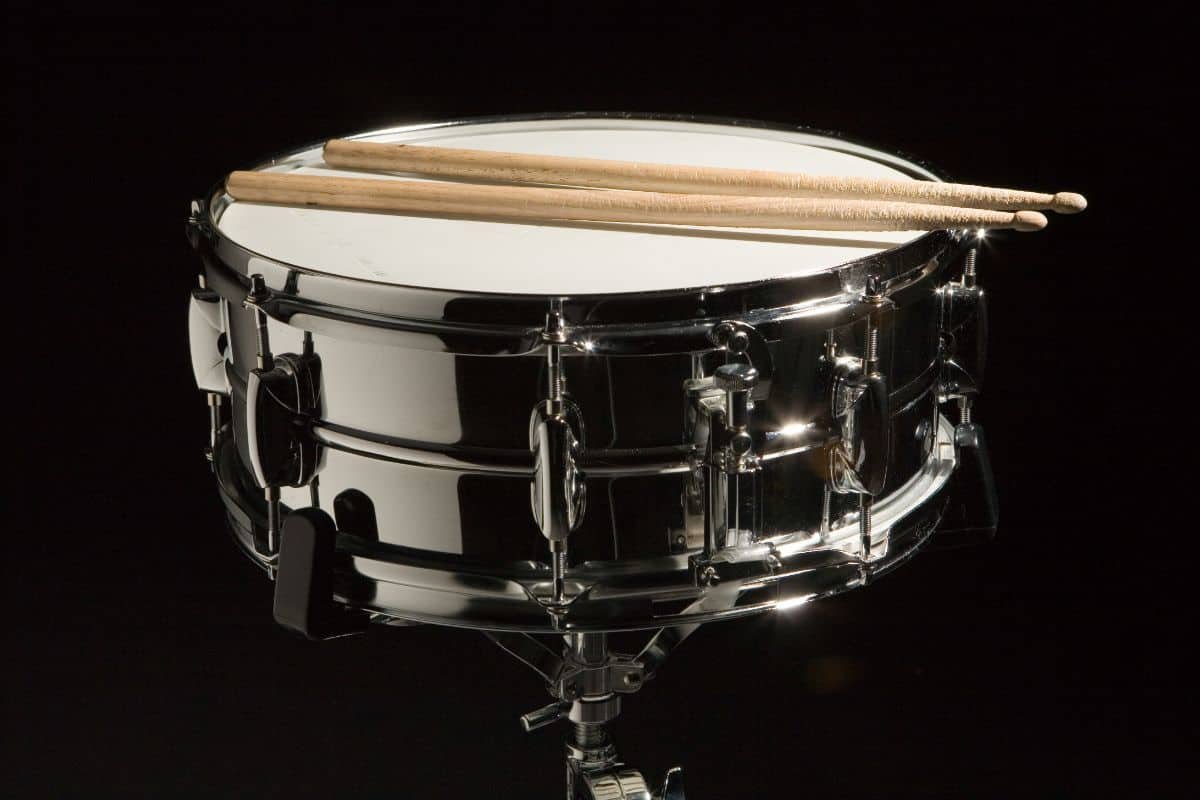
A snare drum, as you know, is a cylinder with heads on its top and bottom. So it seems; indeed, its structure is a bit more complicated. It usually consists of the following elements:
- Shell. The cylindric body of the drum is not tunable.
- Batter head, or the top head (usually simply referred to as “head”). The one you hit with the sticks.
- Snare the head or the bottom head. (Hey Beavis, he said bottom head!) Also known as resonant head.
- Lug casing attached to the shell. The tension rods rest on it.
- Counter hoop. This hoop presses the head, and by adjusting it, you may regulate the tension.
- Tension rods. They are positioned all around the counter hoop and keep the head tightened. They are a key element for tuning.
- Snares. The strings are stretched across the bottom head, providing the drum with its trademark buzz. They are tunable too. The snares are held with the butt plate (hey Beavis…) on one side and the strainer on the other.
- Snare strainer. The mechanism for adjusting snares.
These are the key elements of the snare drum. Among them, heads and snares are adjustable elements, and each one has additional mechanisms for adjustments necessary for tuning. That’s why you need so few tools for tuning.
Step-by-step guide on tuning snare drums
Okay, I assume you do the tuning after reinstalling the head. If your old head is okay and just got a bit loose after an energetic gig or session, just skip the replacing part.
- Remove the old head and the wires.
- Place the new one on the snare drum.
- Make sure the tension rods are all finger-tight. Don’t skip any of them. There should be no wrinkles on either head.
- Press one finger in the middle of the head and tap the head with another finger against each rod, about an inch away from it.
- When you hear the sound you want, leave it as a reference. Keep tapping.
- Tighten the rods against which the sound is lower than the reference until it matches.
- Turn the drum over to access the resonant side head.
- Tighten the rods the same way.
- Install the wires.
- Make sure the snare wires are even. Tighten the loose ones. A little ringing doesn’t have to be eliminated, though it’s a matter of taste.
Many drummers recommend the way of snare resonant head tuning that sets its sound a little higher than that of the batter head. What is “a little higher”? You decide. The standards get vague when it comes to drums. The recommended value is 1.5 times higher (one-fifth), as this value is considered to minimize the snare buzz.
How a well-tuned snare should feel and sound
First of all, knowing how to tune a snare drum is knowing how it should sound. If you do it for the first time, you better find the reference in the music of the bands you like. As for the feel, there are a few questions. It should be bouncy, as bouncy as can be. And the tension needs to be equal all over the head (otherwise, why tune at all?) The sound, though, may vary. While some drummers prefer their snares dry, others intendedly leave them a little ringing.
As for the note it produces, you can go a bit deeper than the mainstream and tune your drum with DialTune or a similar tool.
FAQ
Drum tuning raises lots of questions that cannot be addressed in a simple instruction. It would be much longer then. So, excuse me for the briefness and for not writing articles on each of these questions. Maybe one day.
What should a snare drum be tuned to?
You don’t have to use a tuner as you do with a guitar. Drums, including snares, are considered untuned (though it’s not necessarily so). Indeed, you can adjust the tension to stick to a certain pitch. DrumDial is a good solution, in general, but you may also try various heads to find your perfect tune.
Is a snare drum tuned or untuned?
It’s usually considered untuned. Still, if you want a certain pitch, you can use DialTune. But this is a very specific requirement, so hard you will ever really need it unless you want to use your snare drum as a melodic instrument. These experiments are legit but exotic. So, in general, a snare drum is untuned (but it doesn’t mean you can neglect to tune it).
Why does my snare ring so much?
It was hard not to sing this question. Usually, snare drums ring too loud when the snares are too loose. To get rid of that ringing, you need to tighten the strings. Again, completely eliminating this ringing makes the snare drum sound too dry, so many drummers (including me) recommend leaving a little of it.
Also, I’d recommend checking how the heads are tuned. As I’ve said, the bottom head should be tuned about 1.5 times lower than the batter one, to minimize the ringing and make the overall sound fuller. But even if you tune the batter head low, try not to exceed the 400 Hz limit for the bottom head.
How do you tune a snare with a drum dial?
Using a DrumDial to dial-tune snare drums is, in fact, a technically upgraded method of tuning I have described in the instruction. Instead of relying on your ears, you position the DrumDial on your batter head against each rod, one by one, and tighten them with the key until a certain level is shown on its face. Usually, it’s recommended not to go over 90, and many prefer to keep it at 85 or so. If you have a DrumDial, you can use it for double-checking and training your ears.
Does it make sense to keep the old head after replacement?
Only if you’re replacing it right before going to a gig and have no spare ones. Then, even a bad spare head is better than nothing. If it’s not the case, get rid of it. It was for a reason you decided to replace it, wasn’t it?
Make It Tight, Make It Right
No doubt, tuning a snare drum is an important part of caring, like with any musical instrument. Knowing how to do it includes knowing the drum anatomy, as well as having trained ears and hands. And this is necessary to keep your snare bouncy and rocky when it comes to a gig or a session.
Do you have your own tricks for snare drum tuning? What sound of snares do you prefer – as dry as possible or a little ring? Welcome to the comments, and let’s tell some stories about our experience, because “snare” is one stroke away from “share”.

